
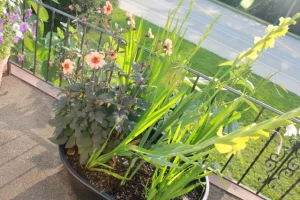
I am so pleased this self-watering planter worked!
There are so many different ideas when it comes to building a self-watering planter, but they all head in the same direction: Having a well at the bottom of the planter with a wick to draw the water up to the plants’ roots. I pooled different ideas from my research and created two self-watering planters that have produced lots of lovely flowers.
The first design problem I faced was finding a planter with enough depth to plant gladiolas that was reasonable to purchase. Most large planters were way out of my price range, so I started thinking creatively. What about garbage cans, or large buckets, or stock tanks?
I landed on 40-gallon stock tanks, standing about 13 inches tall. Using about one-third of the height for the well left me about nine inches of soil.
The first step was collecting the supplies. I purchased three-inch perforated drain tile, pvc pipe, a bag of pebble rocks and some organic potting soil to mix with composted grass and leaves from my back yard. I already had landscape fabric and the cutting tools I needed.
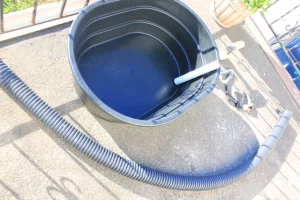
Drain holes were needed, so I drilled two small holes in each tank just above the height of the well.
Next, I set the stock tanks in place on the concrete patio above my garage and cut the pvc pipe into 13-inch pieces, placing one in the corner of each tank on the opposite side of the drain holes. The pvc pipe serves as the filling tube.
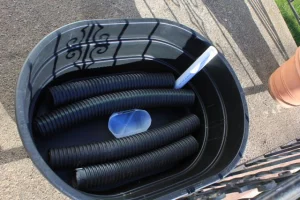
Cutting the drain tile to size was a little more difficult. The goal was to fill as much of the well with the drain tile because of weight. The added weight of filling the well with rock was more then I wanted on top of my garage. I was able to use one 10-foot drain tile in each tank.
The wick is created by putting a perforated cup of some kind down into the center of the well. I used the bottom three inches of gallon milk cartons.
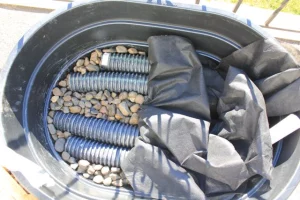
Once the drain tile, wick and filling tube were in place, I filled in the well around them with pebble rock. A layer of landscape fabric was added next, pushing it down into the wick area so soil would fill the milk cartons.
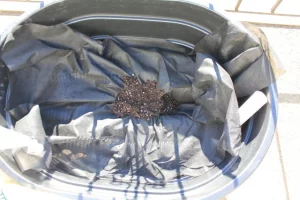
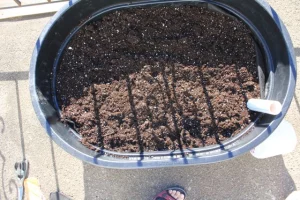
Then it was time to fill the
planters, filling the wick first.
Before planting the bulbs, I filled the wells of both tanks with water through the pvc pipe, which took a lot longer than expected. I’m really pleased with the way these planters turned out, though planting dahlias with the gladiolas seems to be a bit much for the planters. Next year, I think I’ll put the dahlias in one planter and the gladiolas in the other.